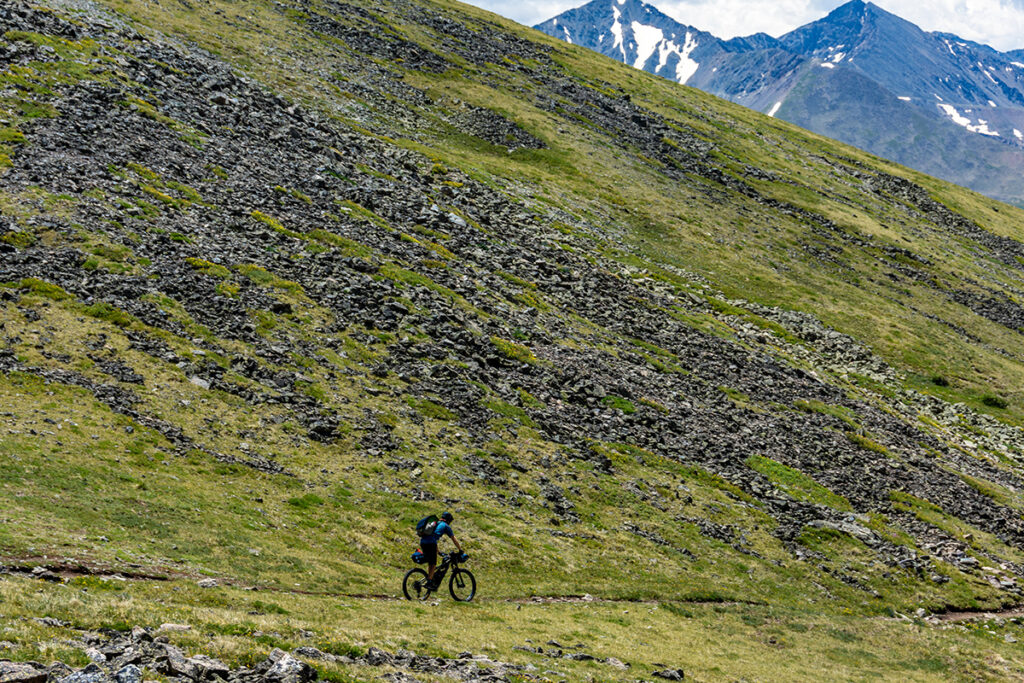
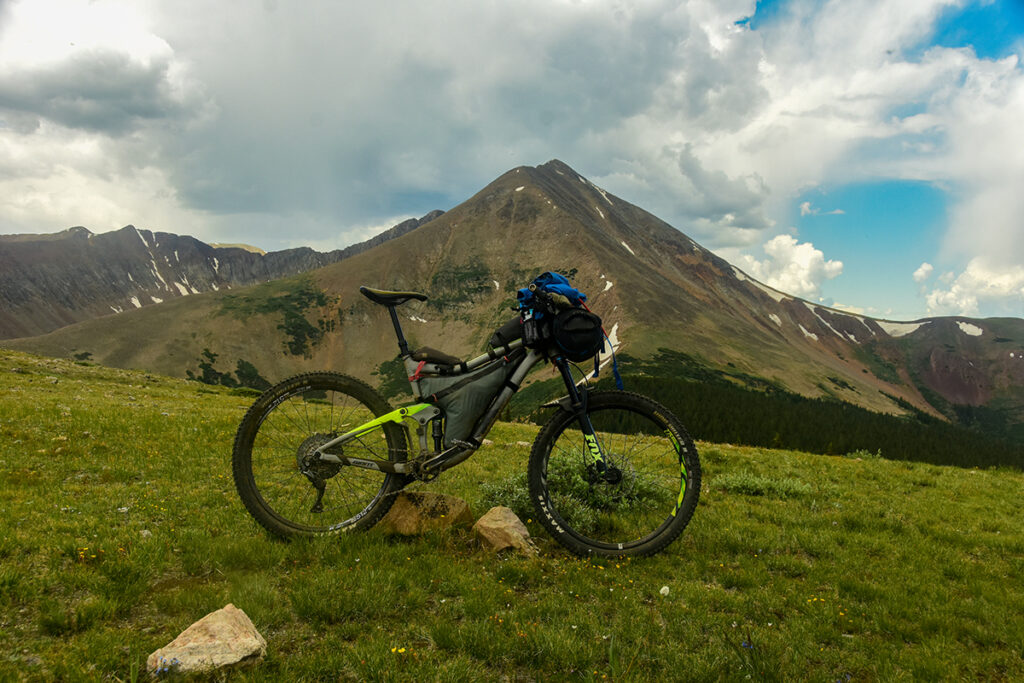
Last week, New Moon News posted a gorgeous photo essay from Elijah’s trip out west riding the Colorado Trail. If that’s got you inspired to plan your own trip, but you don’t know where to start, I’ve got some tips on how to begin your bike packing adventure.
Bikepacking is a recent offshoot of bike touring that involves more gravel and trails and less on-road riding—basically camping on 2 wheels. Being self-sufficient on your bike in the woods allows you to spend more time in nature exploring the trails and not just traveling from point to point.
So, what will you need?
First, make sure you are comfortable on and familiar with your bike. Can you change a tire, use a patch kit, reseat a dropped chain? All these things are essential on the trail! Practice at home and get good at easy repairs—it will help a lot when you have to deal with a quick fix in the pouring rain.
Your bike may feel plush on your weekly 2-hour ride, but that may not be the case 50 miles from your vehicle with gear and days of riding behind you. No worries! If you decide to do more bikepacking there are things you can do so that you’ll be more comfortable over long distances. The right saddle, ergonomic grips or doubling up on the bar tape, changing up the gearing, and a more upright position can all go a long way toward keeping you out on the trails. But right now, you can start with what you’ve got.
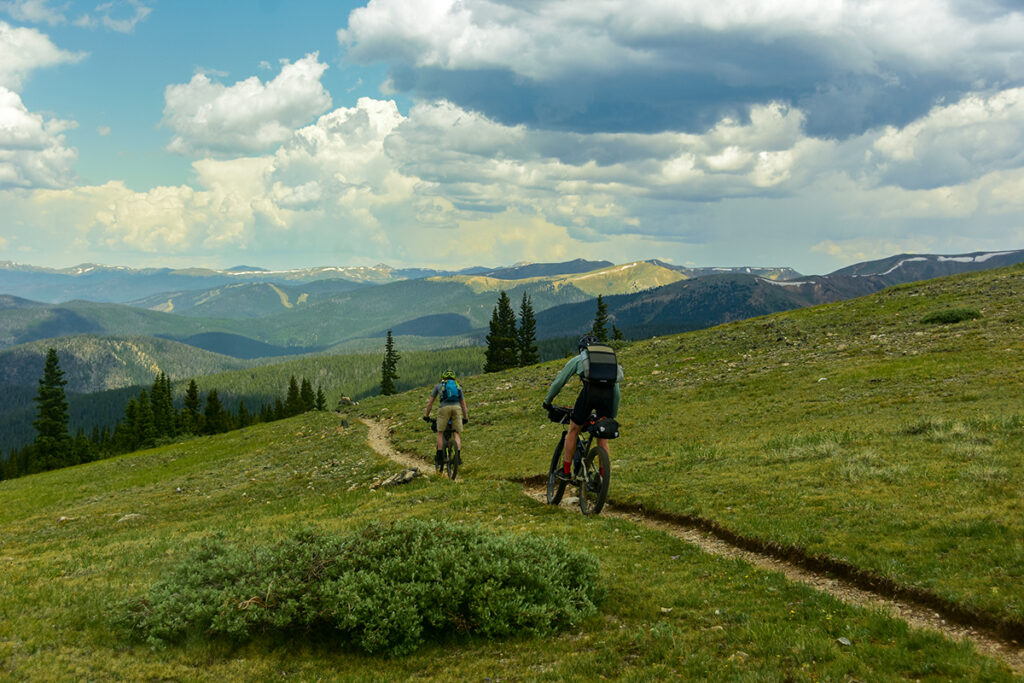
Another difference between bike touring and bikepacking are the packing systems used. Because bikepacking often utilizes trails and gravel roads, soft bags that attach to the bike are a better fit than the traditional panniers and racks used in bike touring. They are more compliant and secure over rough terrain and because they are closer to the frame and they help stabilize the bike.
Most folks start out with 3 types of bags.
A Handlebar Bag attaches in front, under the handlebars. Since this is sometimes the hardest to open, stow items that you won’t need until you make camp. Also, consider lighter things because it will affect the steering if this pack is too heavy – keep heavy items low! Many bike packers have also incorporated their sleeping bag and sleeping pad storage with the handlebar bag system. They roll up nicely and don’t take up other valuable space. Bungees or straps will help anchor your sleeping gear up front.
Next is the Seat Pack (preferably a large one). Nearly anything can go here. A waterproof bag or a rain cover is a good addition for protection. Note that seat packs have evolved greatly in the last decade. Some now expand to accept jackets, rain gear, food, a pair of post-ride sandals, and more. New, over-sized,“ roll-up” seat packs usually offer convenient access for frequently needed items.
A Frame Pack is the perfect place for heavier and larger items because it fits low and close to the bike. Look for a triangular bag that utilizes the space within your bike’s main triangle. Long zippers allow good access and soft sides are adaptable for a wide variety of goodies—shoes, lighting supplies, a camp stove, even a baguette are all fair game. Triangle bags tend to gobble up space needed for water bottles. Some will simply move bottles inside this bag or re-mount bottles to their fork or bottom of the down tube. IF your bike won’t accept bottles elsewhere, you can get a Top Tube Bag that fits right below your top tube and is a few inches deep leaving room for your bottles. While we are in this neighborhood, consider a Stem Bag—ideal for small food bites that you will eat on the go as well as electronics and your phone. Stem bags offer the most convenience of any option, allowing while-you-ride access—if you’re careful ;-).
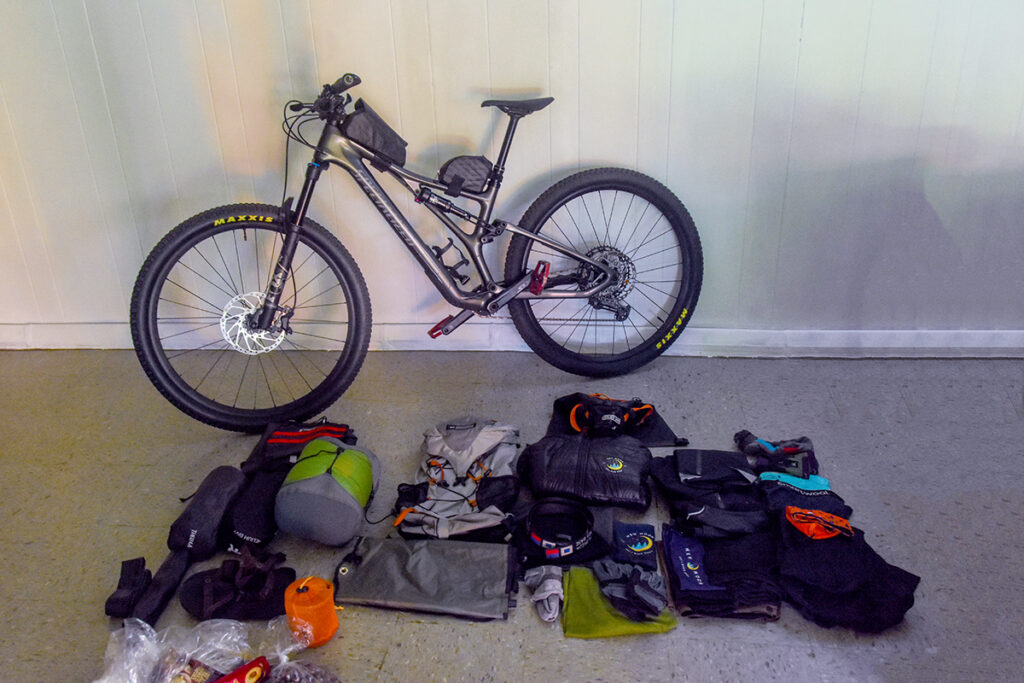
Of course, you’ll need to bring you everything you need to make camp— tent, cookwear, etc.— light but high-calorie food, extra bike shorts, bike tools, and some hydration tabs like NUUN. A first aid kit is good, too. Pro Tip: When you get to camp, a Crud Cloth feels great after a long day in the saddle. This shower in a bag keeps you clean and fresh. Add some Chamois Butt’r and you are protected for the duration of your expedition.
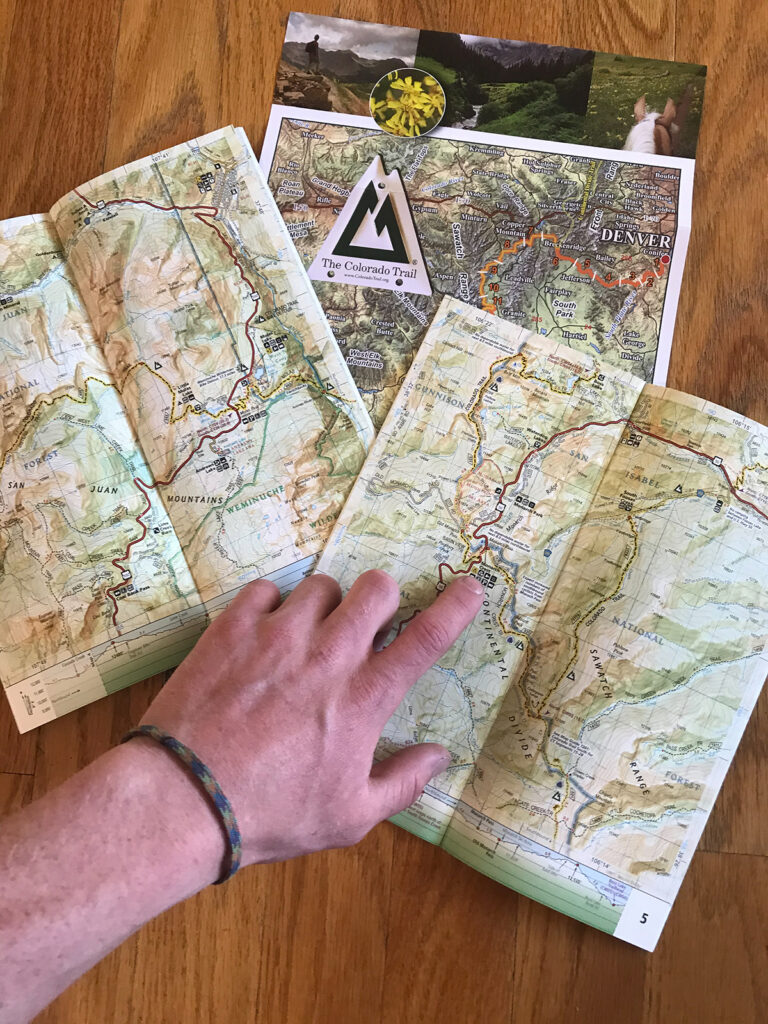
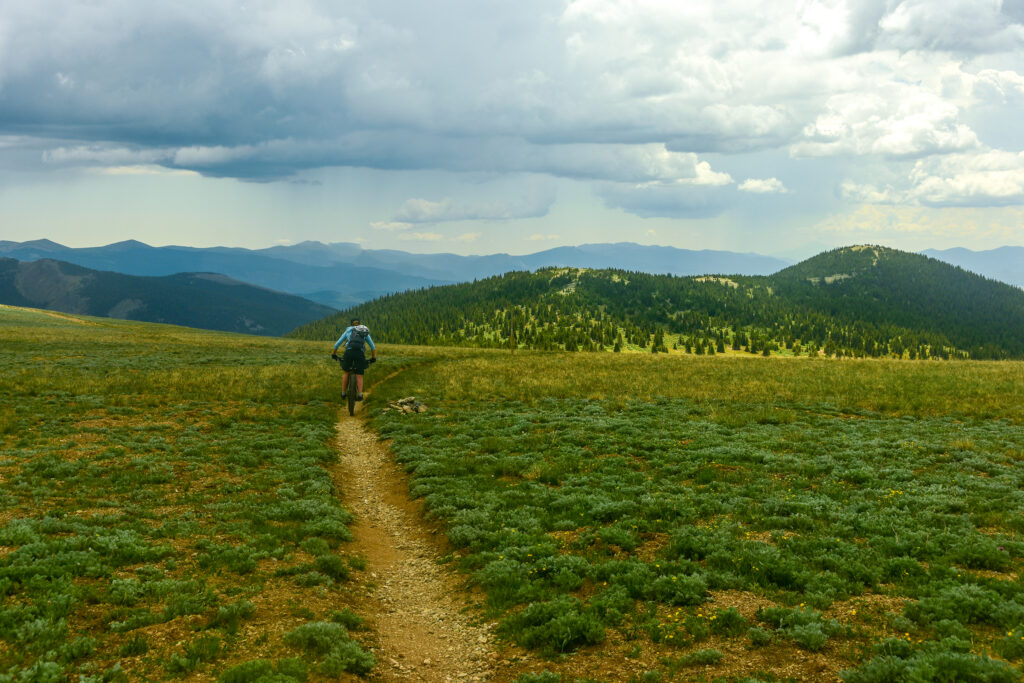
Finally, planning the route. Pre-loading the route in your phone or GPS is great, but having a paper map and a compass are helpful as well—some places don’t have the best cell phone reception. Learn how to navigate the analog way and study your route before your trip.
When you are starting out, keep the distances shorter and the time longer than you’d expect. You are riding fully packed up. The bike is heavier and handles differently, and it takes a lot of time to pack and adjust the bags. Do a test ride with all your gear to be sure the bike is handling properly.
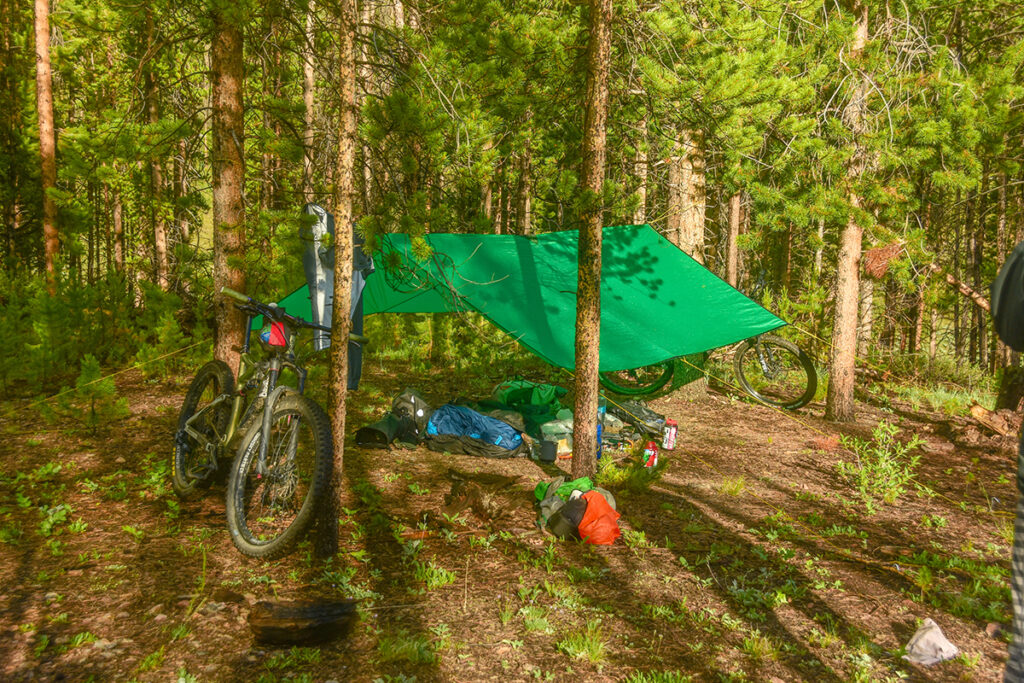
Be flexible. If you don’t make it to your planned destination, remember, you have everything you need! Find a closer spot and make camp right where you are!
Need some assistance getting ready for your bike packing trip? Let us help you get set up for success on the trails. Please give us a call if you need assistance choosing the perfect bikepacking bike, learning how to use a patch kit, or whatever will help make your bikepacking trip a success. Fall is a great time to start your next adventure. Be ready for it!